Introduction
This module offers the ability to productize ACL recipes so you can assign them to tenant later on in multitenancy.
Productized information is stored in SOAJS core database. You can learn more about productization data models here.
Objective
Learn how to productize ACL recipes.
Steps:
- Create a new Product
- Create a new package in this product
- Configure the ACL inside the package
- How to use Productized ACL Packages
- Create Dashboard Packages
Add a new product
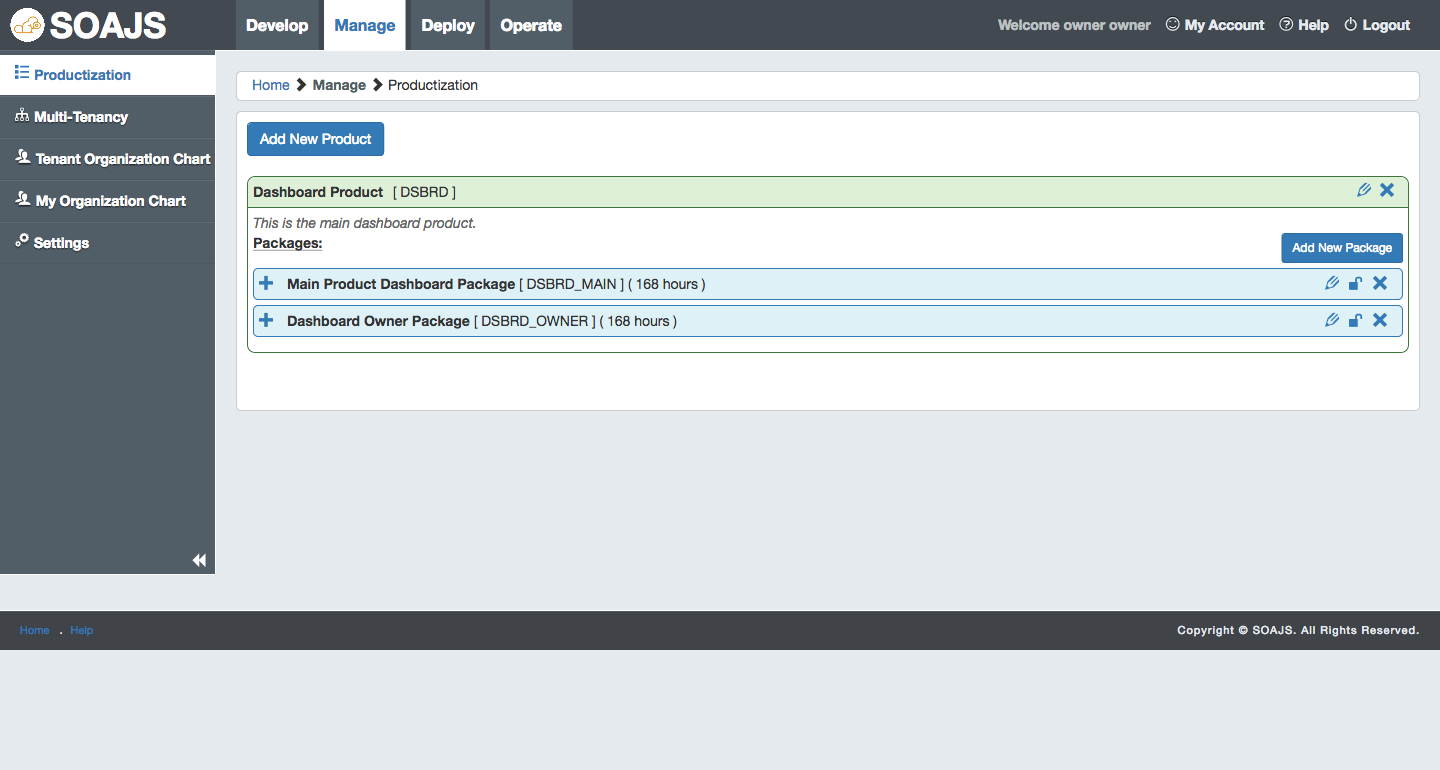
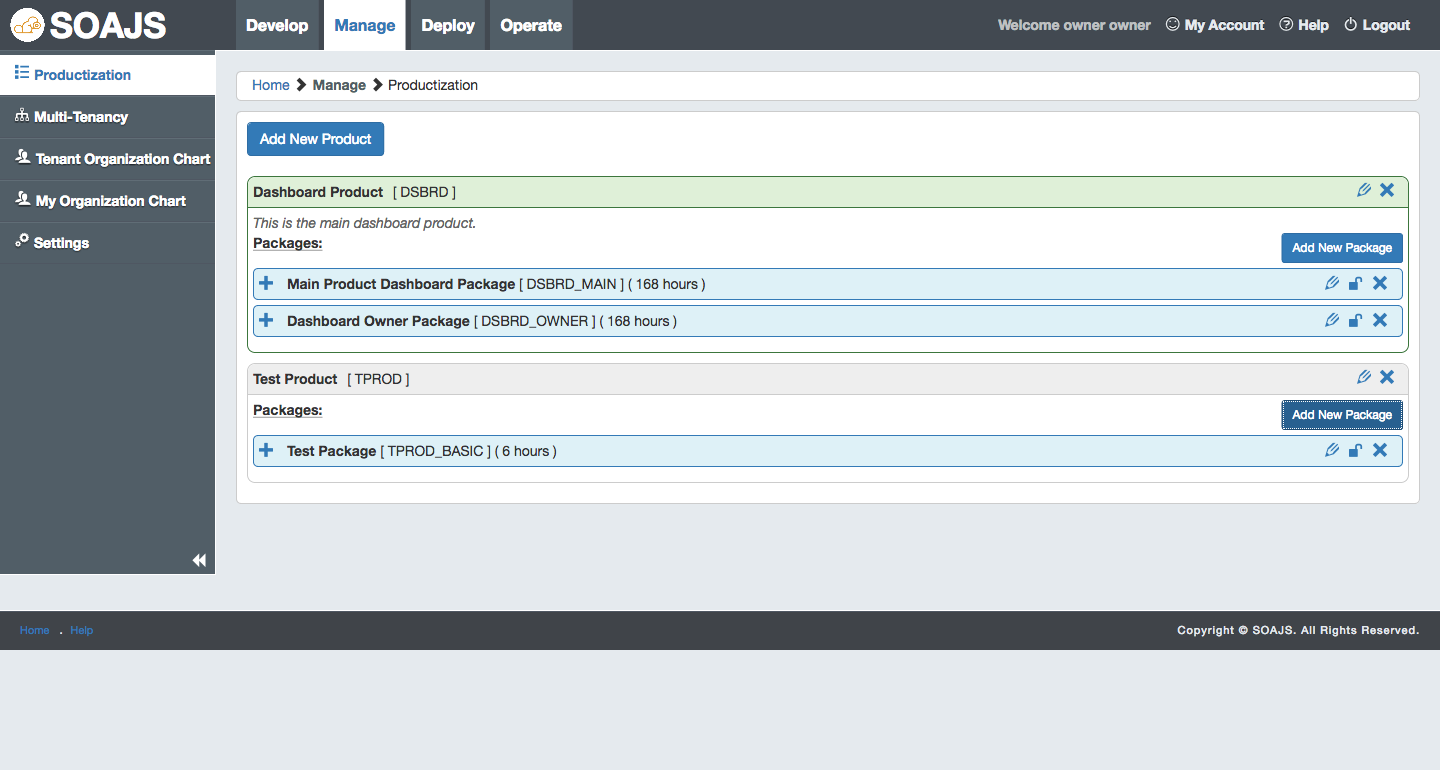
From the dashboard, go to Manage pillar → Productization, Once there, you should see the default Dashboard Product with two packages in it.
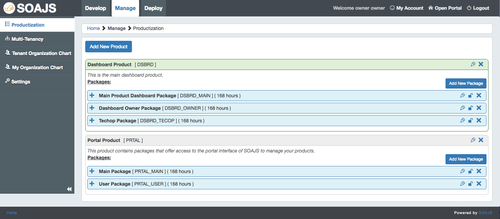
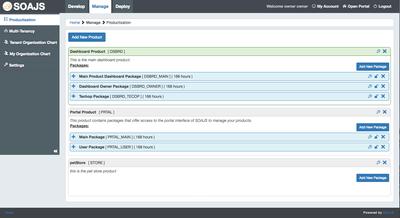
Click on "Add New Product" and fill in the form, you should now see an empty product right below the Dashboard Product.
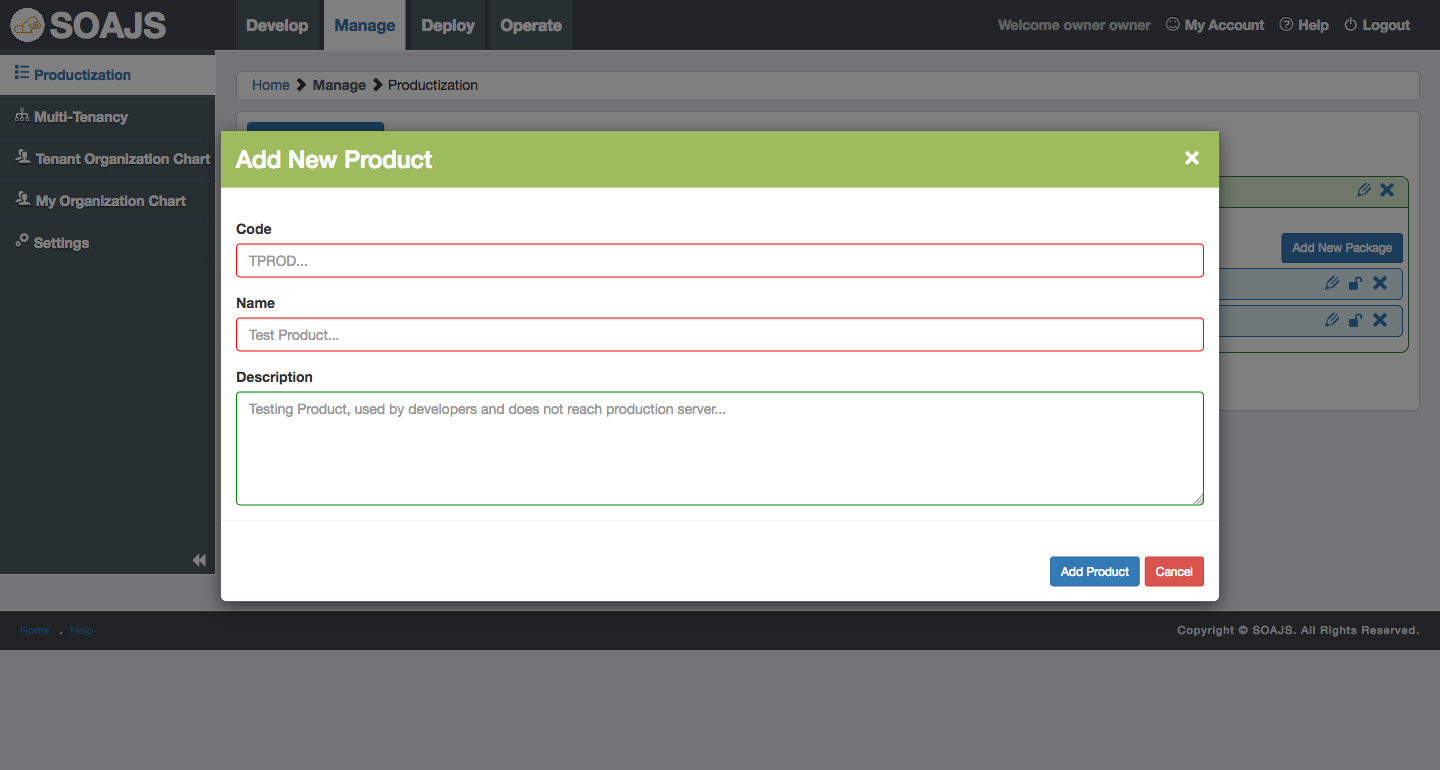
| Step 1: List Products | Step 2: Add Product | Step 3: Product is now available |
|---|
|
|


|
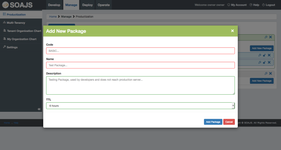
While adding a product, pick a code, a name and enter an optional description for it.
| Note |
|---|
Product code should not exceed 5 characters and should be alphanumeric ONLY. |
Add a new package
Now that you've added a new product, go ahead and add a new package in it so you can cook the ACL recipe.
Similarly to the above, click add new package and fill in the form.
| Step 1: Add new Package | Step2: Package is now available |
|---|
|
|
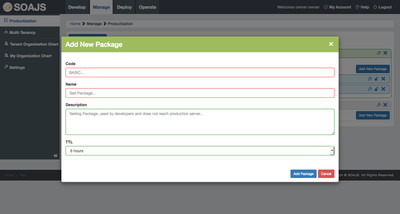
Similar to add new product, enter a code, a name and an optional description for your package.
In addition, you can choose a caching TTL value for your package. The caching TTL value instructs SOAJS how long it should wait before reloading this package.
| Note | ||
|---|---|---|
| ||
Package code should not exceed 5 characters and should be alphanumeric ONLY. |
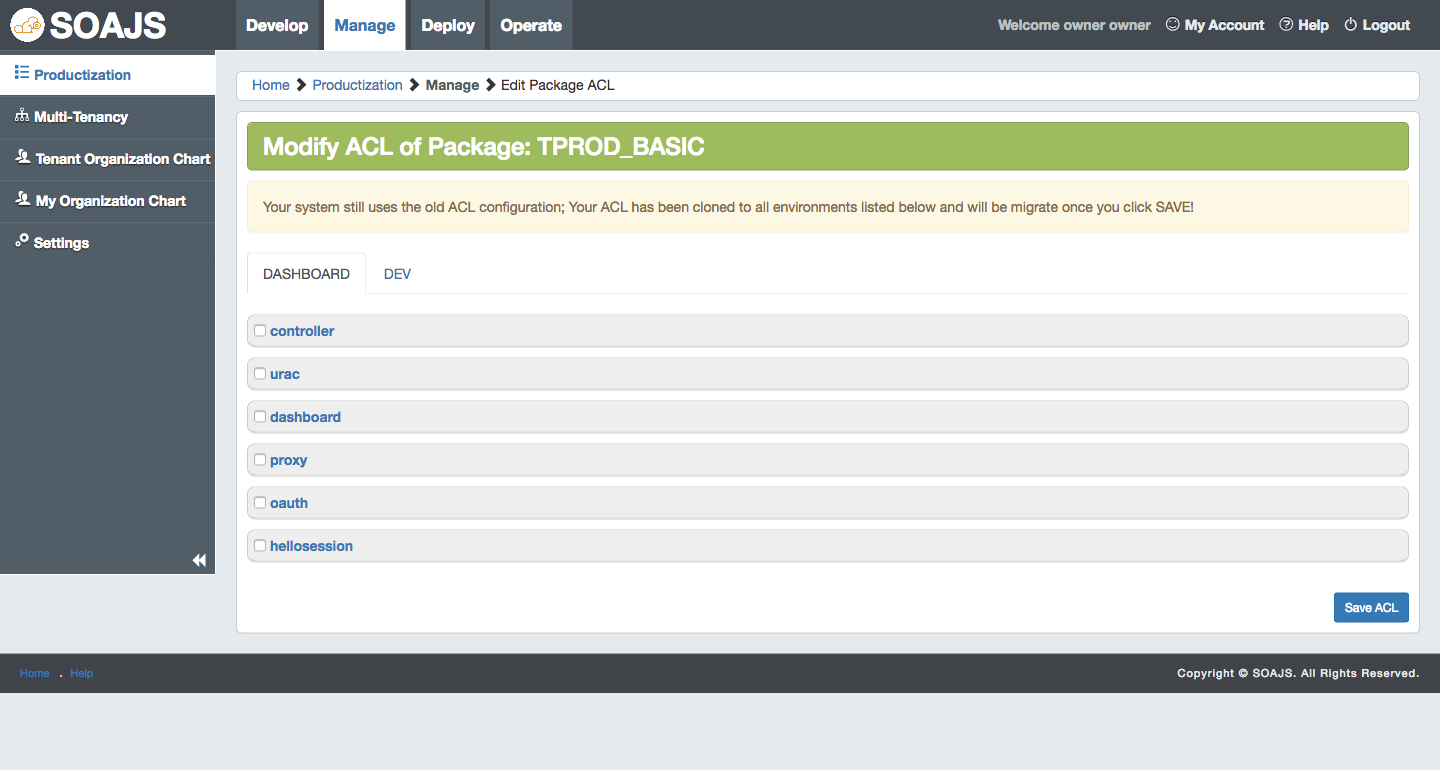
Edit package ACL
So far, we've added a new product and a new package inside it. Before continuing, we have to configure the ACL of the package. The ACL is what will allow or deny access to the microservices and their APIs.
Click here to lean more about how the ACL works.
Click on "Edit Package ACL" and you will be taken to a new page where you see the list of all activated services grouped under environment codes. Check all the boxes of the services you want to allow this package to access.
The ACL works per environment, meaning if you deployed the same service in multiple environments, you can allow this package to access the service in one environment and prevent it in another.
You can learn more about deploying environments, check out the Deploy Pillar page.
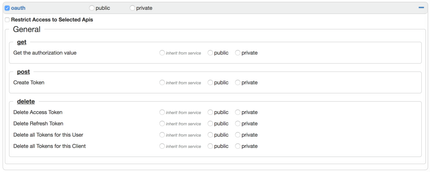
When you select a service, it will expand and you will see 2 radio button: public and private.
Selecting public grants access to the service/API for anonymous users whereas private enforces that service/API access is only allowed for logged in users.
| Step1: Edit Package ACL | Step 2: Configure the ACL permissions |
|---|
|


|
How to use Productized ACL Packages
Once you create your products and packages and configure the ACL in them, you can now assign these packages to tenants.
Head to Manage Pillar → Multitenancy, create tenants, and while doing that assign these packages to them.
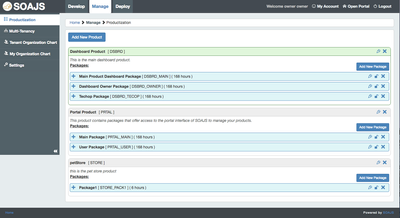
Create Dashboard Packages
Dashboard package are created the same way as any other packages but they belong to the default dashboard product named DSBRD.
This product is locked and cannot be removed because if that happens, no one will be able to access the dashboard interface anymore.
In addition, this product is treated differently because packages inside it grant access to the services deployed in the dashboard environment. Other products cannot grant this privilege.
If you want to grant access to the dashboard environment to your tenants or you want your tenants to use the /wiki/spaces/BL/pages/61906563 pillar, then create packages under this product and later on in multitenancy assign them while creating the tenants via the input labeled Dashboard Packages.